As I’ve been learning more about the container ecosystem, I’ve come across the concept of JeOS (just enough operating system). The idea here is that you want to gain as much performance out of your Docker containers as possible, so you minimize the cruft from your host operating system. There are several different JeOS options, but today we’ll talk about RancherOS. RancherOS is a very small, ~20MB, OS that you can use as a Docker host. Everything in RancherOS runs inside of a container and Docker itself runs as pid 1. RancherOS ships as an ISO, so today, I’ll guide you through using the ISO to create a QCOW image for use in OpenStack.
##Setup KVM##
-
First, ensure you have a proper KVM environment setup. This can involve quite a bit of configuration between making sure virtualization is allowed in the BIOS, your CPU supports it, etc.. I followed these directions on a new Ubuntu machine and it worked just fine.
-
You can test that your KVM setup is working properly by issuing
virsh list. That should return an empty list:
root@ubuntu:/home/rsmitty# virsh list
 Id    Name                           State
----------------------------------------------------- Finally, install the virt-install tool with
sudo apt-get install virtinst.
##Install Packer##
-
Now, we want to use Packer to build our image so we need to download it and get it installed properly. You can find directions on setting up Packer here.
-
If you need an intro to Packer in general, I’ve written another guide that was published to the Solinea website. You can find that here.
##Create Our Templates##
Now that we are all set up, we need to create two files, a cloud-config.yml file that gets injected into RancherOS and a Packer template called kvm-rancheros.json that we’ll use to build our QCOW.
- Create a file called cloud-config.yml with the following content. Be sure to modify the ssh public key with your own, so that it gets baked into the image. Unfortunately, there’s no injection of keys during boot in OpenStack for RancherOS, so take care to make sure you get the correct one in there. Here’s what my cloud-config.yml looked like:
#cloud-config

ssh_authorized_keys:
- ssh-rsa ... spencer@Spencers-MacBook-Pro.local- There are lots of options for building images with Packer, so it can be a bit daunting at first. For our purposes, we will need to use the KVM builder directly and pass in the RancherOS ISO. Once booted, Packer will scp our cloud-config.yml file into the temporary instance and then issue the proper command to install RancherOS to disk. After this is complete, Packer will provide output on the location of the QCOW image. This image will simply be called “rancheros” and that path to it will be “$PWD/output_rancher/rancheros”. Here’s the full template:
{
  "builders":
  [
    {
      "type": "qemu",
      "iso_url": "https://releases.rancher.com/os/latest/rancheros.iso",
      "iso_checksum_type": "md5",
      "iso_checksum": "63b54370f8c5f8645d6088be15ab07b0",
      "output_directory": "output_rancheros",
      "ssh_wait_timeout": "30s",
      "shutdown_command": "sudo shutdown -h now",
      "disk_size": 1024,
      "format": "qcow2",
      "headless": true,
      "accelerator": "kvm",
      "ssh_username": "rancher",
      "ssh_password": "rancher",
      "ssh_port": 22,
      "ssh_wait_timeout": "90m",
      "vm_name": "rancheros",
      "net_device": "virtio-net",
      "disk_interface": "virtio",
      "boot_wait": "5s",
      "qemuargs": [
        [ "-m", "1024M" ]
      ]
    }
  ],
  "provisioners": [
  {
     "type": "file",
     "source": "cloud_config.yml",
     "destination": "/home/rancher/cloud_config.yml"
   },
  {
    "type": "shell",
    "inline": [
      "sleep 5",
      "sudo rancheros-install -f -c cloud_config.yml -d /dev/vda"
    ]
  }]
}
Notice the ‘-m’ flag in the qemuargs section. You MUST have at least 1GB of RAM to complete the install successfully.
##Build and Upload##
-
It’s now time to build our image. Packer will fetch and verify the RancherOS ISO for us and proceed to take care of all of the necessary commands. Issue
packer build kvm-rancheros.json. -
Once our build is complete, we’ll want to upload it to Glance. This image is ~40MB, so it shouldn’t take a terribly long time. You can issue the following command (after sourcing your OpenStack credentials):
glance image-create --name "RancherOS" \
--is-public false --disk-format qcow2 \
--container-format bare --file $PWD/output_rancher/rancheros##Launch An Instance & Connect##
-
We can now spin up our RancherOS instance inside of OpenStack. Ensure that you have ports 22, 80, and 2376 allowed in the security group that you choose to use for your instance.
-
Once our instance has been created, we will use Docker Machine’s generic driver to connect to our launched instance. Again, because SSH keys aren’t injected into RancherOS, we can’t use the OpenStack driver for Docker Machine and have it launch the instance for us. Here is the command that I used for connecting Docker Machine, notice I passed the path to the SSH key I injected earlier.
docker-machine create -d generic --generic-ssh-user rancher \
--generic-ssh-key ~/.ssh/id_rsa --generic-ip-address 192.168.1.202 \
rancher-dev- Set rancher-dev as our Docker endpoint with the following:
eval "$(docker-machine env rancher-dev)"- You can ensure everything is connected with a combination of
docker-machine lsanddocker ps. I like to echo a dashed line to give some separation in my commands.
spencers-mbp:~ spencer$ docker-machine ls && echo "------------" && docker ps
NAME          ACTIVE   DRIVER         STATE     URL                         SWARM
rancher-dev   *        generic        Running   tcp://192.168.1.202:2376
vbox-dev               virtualbox     Running   tcp://192.168.99.100:2376
------------
CONTAINER ID IMAGE COMMAND CREATED STATUS PORTS NAMES##Grow The Root Volume & Deploy A Container##
- Again, keep in mind that RancherOS doesn’t currently do some cloud-init functions like growing the root volume. We’ll need to launch a privileged container to do this. Issue the following:
docker run --privileged -i --rm ubuntu bash << EOF
apt-get update
apt-get install -y cloud-guest-utils parted
growpart /dev/vda 1
partprobe
resize2fs /dev/vda1
EOF
Credit to Darren Shepherd for this script mentioned here
- Launch my test-webserver container by issuing the following:
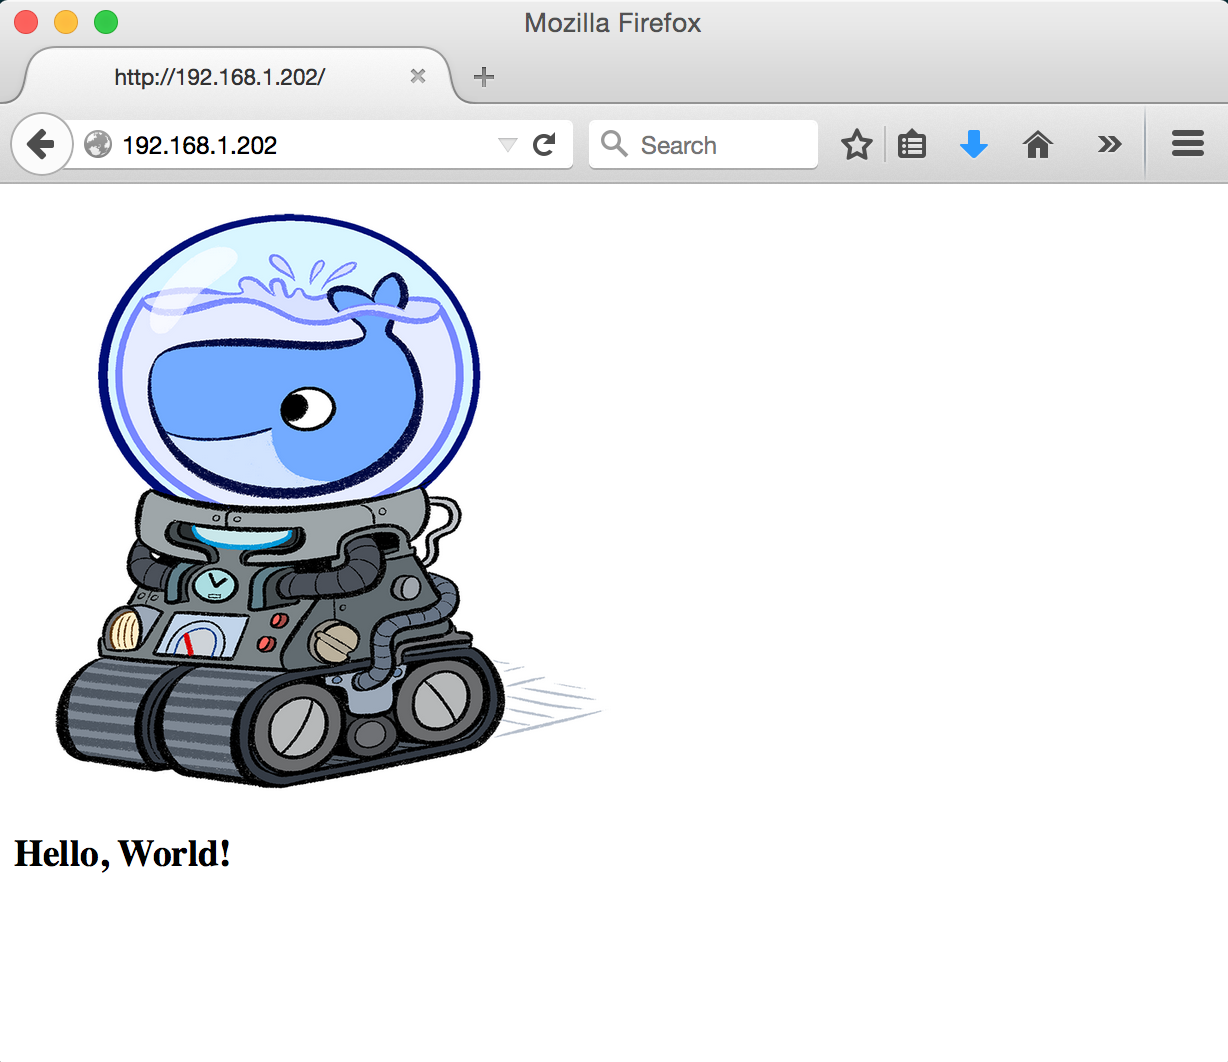
docker run -d -p 80:80 rsmitty/test-webserver /usr/sbin/apache2ctl -D FOREGROUND