This post will go into some detail about how to get started with docker-machine. Docker Machine is a really nice tool to aid in deploying docker hosts across any environment. It seems to be quickly becoming the standard for creating dev environments. Today, I’ll go through how to talk to OpenStack with Docker Machine and then deploy a quick container.
##Install Docker Machine##
I installed both Docker and Docker Machine with Homebrew. There are several other installation options that you can find in the “Installation” sections here and here.
For Homebrew, simply issue this in the terminal:
brew install docker-machine##Prepare Openstack##
There’s a few things that we need to do on the OpenStack side in order to ensure that our machine can be created successfully. First, go ahead and source your keystone credentials. Docker Machine will use these environment variables if they are present. This keeps us from having to pass a bunch of authentication parameters later on.
Next, take a look at your OpenStack environment. We’ll need to gather up some IDs and ensure some things are setup properly. First, take a look at your security group that you plan to use and ensure that SSH access is allowed into it. It’s also important to note here that you’ll want to allow any ports that you plan to map into your containers. For me, I allowed ports 22 and 80 initially. Now, let’s gather some IDs. I needed to find the ssh user for my image type (Centos 7), the image ID, the flavor I wished to use, the floating-ip pool name, and finally the security group that I wanted to use.
##Create Our Machine##
We’re finally ready to create our machine. Using the IDs I found above, here is the (extremely verbose) command that I issued:
docker-machine create --driver openstack\
 --openstack-ssh-user centos\
 --openstack-image-id cfb0a24a-16a5-4d19-a15b-ee29c9375d52\
 --openstack-flavor-name m1.small\
 --openstack-floatingip-pool public\
 --openstack-sec-groups default\
 docker-dev
Be patient here. I found that creating the machine took quite a while, as the docker-machine command will SSH into the instance and do some long-running tasks like ‘yum upgrade’.
Once complete, we’ll want to override our built in docker settings to point to our new machine. We can do that by issuing:
eval "$(docker-machine env docker-dev)"Finally, we’ll want to ensure that our machine is totally up to date by issuing the following:
docker-machine upgrade docker-dev##Write A Test Container##
Now that we have a working Docker Machine in OpenStack, let’s try deploying something fun to it. First, we’ll create a Dockerfile to simply install Apache and push a little image and a webpage.
In a test directory, I created three files: Dockerfile, index.html, and logo.png. Here’s the contents of each file:
Dockerfile:
FROM ubuntu:14.04
MAINTAINER Spencer Smith <robertspencersmith@gmail.com>
RUN apt-get update
RUN apt-get install -y apache2
ADD index.html /var/www/html/index.html
ADD logo.png /var/www/html/logo.png
RUN chmod 777 /var/www/html/logo.png
index.html:
<html>
<img src="logo.png" width="300" height="300"/>
<h3>Hello, World!</h3>
</html>
logo.png:

Finally, we’ll build our container image. Change into the directory that contains the files we just created and issue docker build. I’m also supplying a tag so that I can easily identify my apache container that I’m building. The docker build command can take a little while to complete, as there’s a lot happening with the update and installation of apache2.
docker build -t rsmitty/apache .##Test It Out##
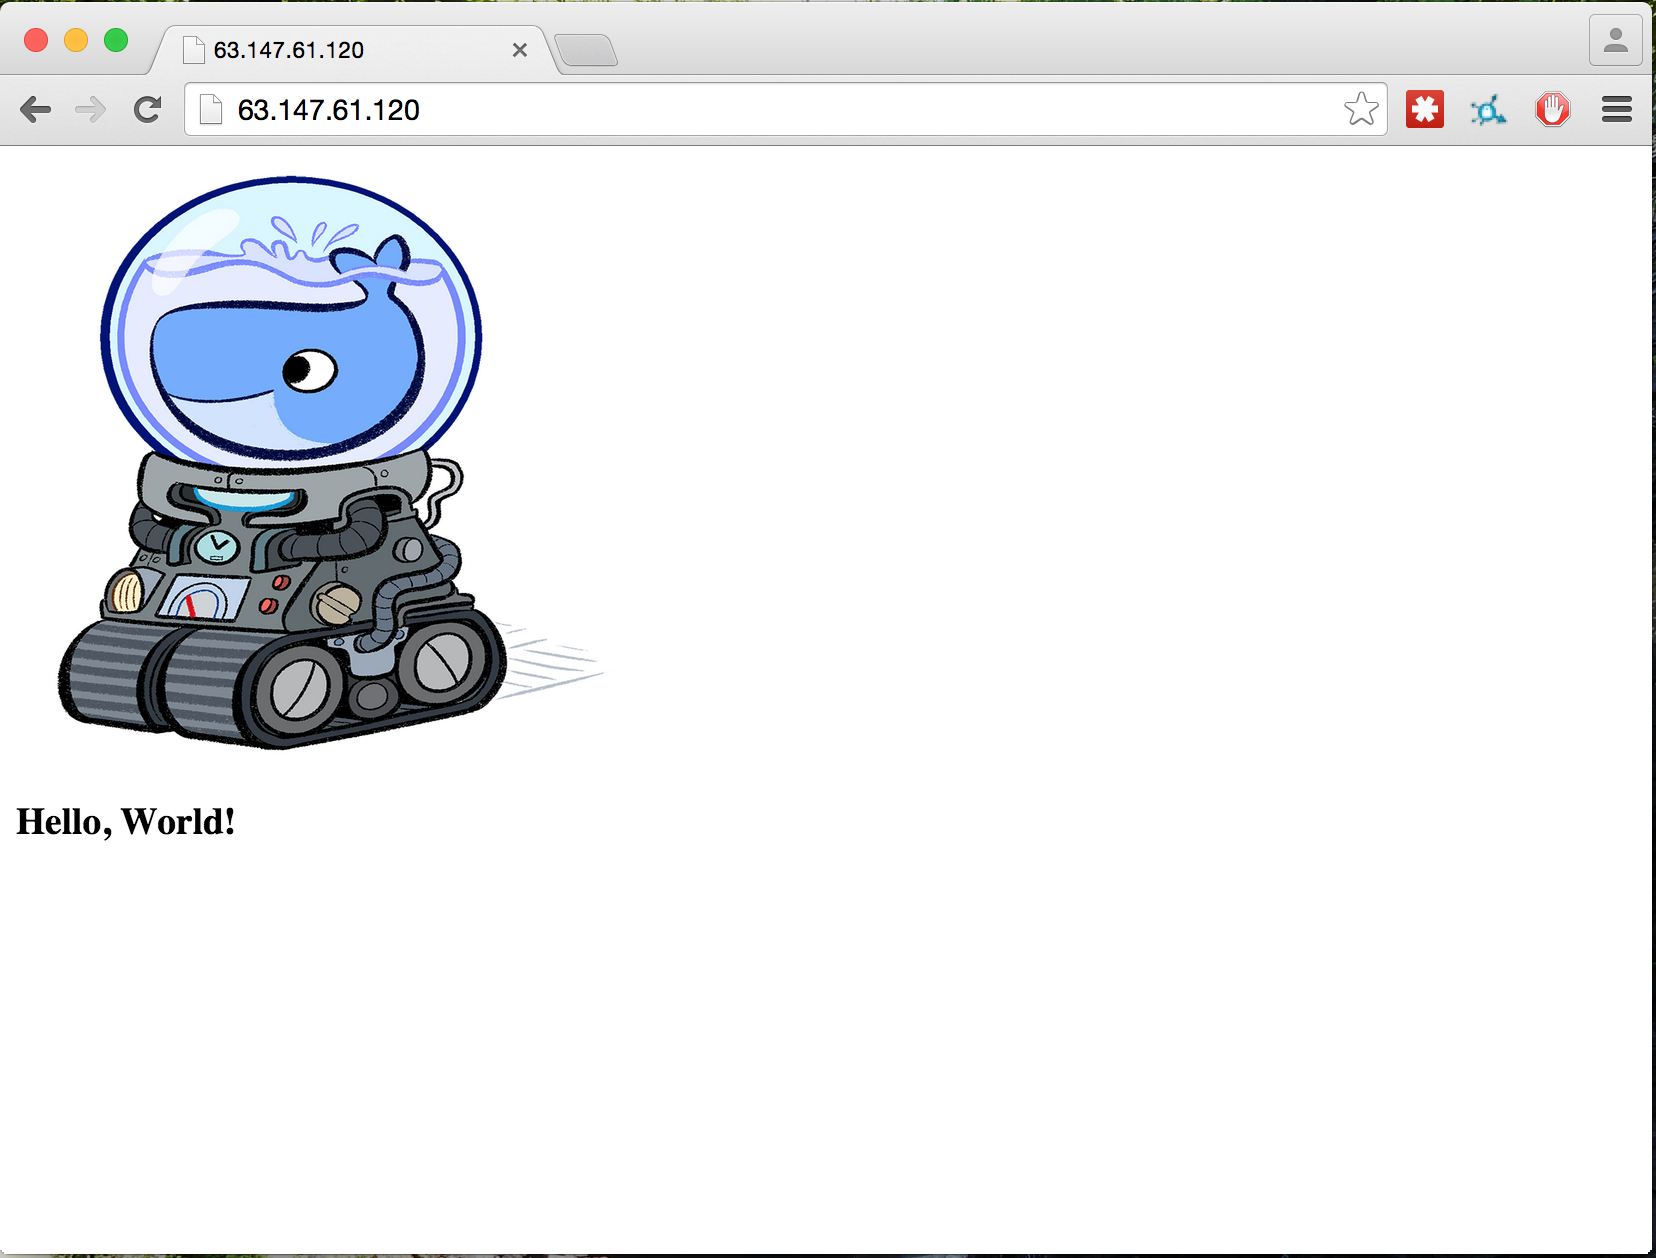
Now that our image has been created, it’s time to test it out by launching our new container in our machine. We can do that simply by calling the docker run command. Note that we will launch apache in the foreground so that it continues running and keeps our container up.
docker run -d -p 80:80 rsmitty/apache /usr/sbin/apache2ctl -D FOREGROUNDPoint your browser to the IP address of our machine and see the results!