As part of a new job I’m taking, I wanted to learn more about image building for Openstack and other virtual environments. I’ve done it by hand for the customized OSes at my old job, but I haven’t had the chance to explore any automated solutions. I was pointed to Packer as a tool to build several different images at the same time (and automatically). It sounds like a great project and I’m going to use this post to get up to speed with using the basics. One quick caveat from the outset is that I’m not going to use Amazon at first. I’ll be running against my home Openstack lab since it’s free and a good excuse to get my homelab back in order.
##Install Packer##
I’ve got a shiny new Macbook, and installing Packer was actually really easy. The way I did it depended on homebrew, but you can also install manually from from their docs here.
- In terminal, ensure that you have homebrew setup by issuing
brew. - Add the necessary tap with
brew tap homebrew/binary. - Finally, install packer with
brew install packer. - You can test it’s installed by simply issuing
packerin the terminal.
##Get Openstack Ready## I run an all-in-one deployment of RDO Openstack at home. Obviously, there’s a million different ways to deploy, but here and here are the pieces that I followed. It’s important to note that in my lab, instances come alive on a private network, then get access to my router’s 192.168.1.0/24 block via floating IPs. This will come in to play a bit later with the Packer template.
-
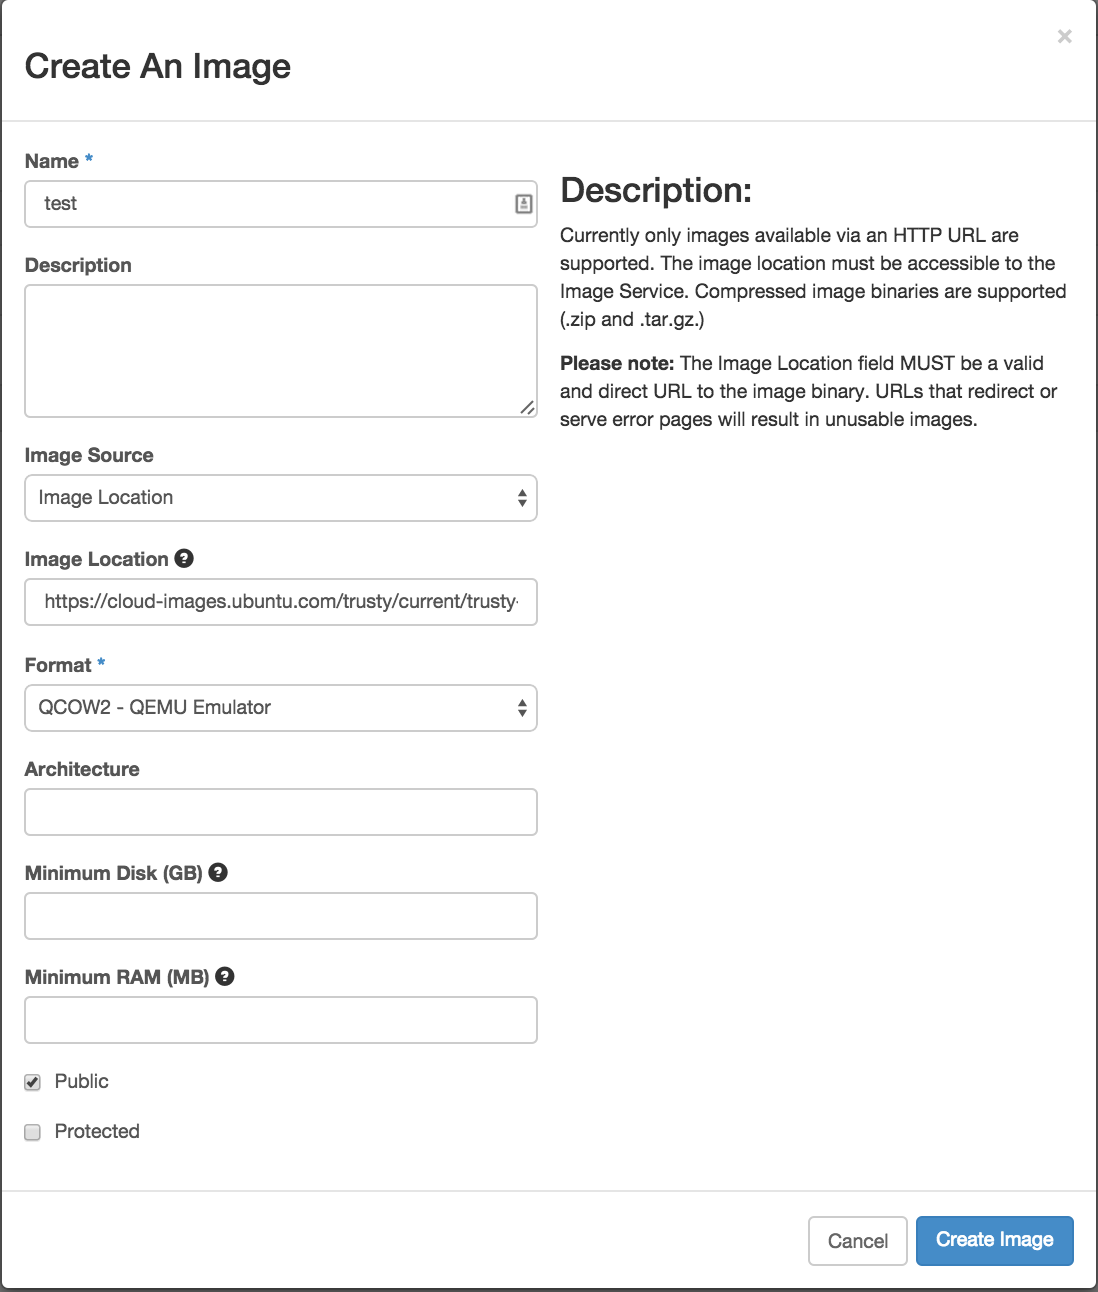
Get a known good image into Glance by importing one of the big distros. I used the Ubuntu 14.04 LTS image found here. You can just put that link into Glance’s import dialog. My final dialog looked like this:
-
Take note of the new image’s UUID, we’ll need that later:
[rsmitty@localhost ~(keystone_admin)]$ nova image-list
+--------------------------------------+-------------------+--------+----------+
| ID                                   | Name              | Status | Server
+--------------------------------------+-------------------+--------+----------+
| bf2ad7f1-3823-4ad2-a788-44a25827c93e | cirros            | ACTIVE |
| b3a4368b-7368-45e5-bfe4-63f59d732c41 | ubuntu 14.04      | ACTIVE |
+--------------------------------------+-------------------+--------+----------+##Write Packer Template## Okay, time to get busy. Let’s write a template for Packer to create an image list. We’ll need to gather some info first.
- Get your keystone info by catting out your keystonerc file. For me, this was
cat keystonerc_admin. Some info below has been changed to protect the innocent.
[rsmitty@localhost ~(keystone_admin)]$ cat keystonerc_admin
export OS_USERNAME=admin
export OS_TENANT_NAME=admin
export OS_PASSWORD=testpass
export OS_AUTH_URL=http://192.168.1.200:5000/v2.0/
export OS_REGION_NAME=RegionOne
export PS1='[\u@\h \W(keystone_admin)]\$ '-
Create a new json file somewhere on your machine. I simply called mine packer_template.
-
There’s a lot of options for Openstack in Packer (found here). Some of this will vary by the way your particular Openstack deployment is set up, but for me, this template contains all of the necessary basic fields:
{
  "builders": [
    {
      "type": "openstack",
      "username": "admin",
      "password": "testpass",
      "provider": "http://192.168.1.200:5000/v2.0",
      "ssh_username": "ubuntu",
      "project": "admin",
      "region": "RegionOne",
      "image_name": "Packer Test Image",
      "source_image": "b3a4368b-7368-45e5-bfe4-63f59d732c41",
      "flavor": "0d7e469c-e99b-4267-b154-35874b224f54",
      "networks": ["0296eb7d-7f94-4cc1-b42f-f2d680b81359"],
      "use_floating_ip": true
    }
  ]
}
Notes about what’s what:
- username & password: Map to OS_USERNAME and OS_PASSWORD from source file
- provider: Maps to OS_AUTH_URL
- region: Maps to OS_REGION_NAME
- source image: UUID of the Ubuntu image we talked about earlier
- flavor: UUID of my m1.tiny flavor. Beware, this changes on any flavor update!
- networks: UUID of my private network. Can be an array of several networks.
- use_floating_ip: As mentioned earlier, floating IP allows Packer to actually SSH to this server across my home network.
##Test Time!## Let’s see if this thing will actually create an image for us.
-
Save your template if you haven’t already.
-
Validate the template to make sure there aren’t any glaring errors with
packer validate NAME_OF_TEMPLATE.json. This should return the text ‘Template validated successfully.’ -
Run the template with
packer build NAME_OF_TEMPLATE.json. For me, this gave the following output when everything completely worked:
Spencers-MBP:Desktop spencer$ packer build packer_template
openstack output will be in this color.

==> openstack: Creating temporary keypair for this instance...
==> openstack: Waiting for server (82db25b2-e1a5-4aef-be4a-cfccf744e103) to become ready...
==> openstack: Created temporary floating IP 192.168.1.204...
==> openstack: Added floating IP 192.168.1.204 to instance...
==> openstack: Waiting for SSH to become available...
==> openstack: Connected to SSH!
==> openstack: Creating the image: Packer Test Image
==> openstack: Image: 70a610e9-302a-40f4-a4ca-59b6ad260e63
==> openstack: Waiting for image to become ready...
==> openstack: Terminating the source server...
==> openstack: Deleting temporary keypair...
Build 'openstack' finished.- Nice! Seemed to work. Now if we head out to the Glance UI, we can see that our
shiny new image hanging out!

##Well, Now What?## So we’ve built an image with Packer, which is great. But the real value here comes with building on multiple platforms at the same time and also doing some provisioning to install the necessities before creating the image.
This tutorial is getting pretty long in the tooth, so I’m not going to add another provider to create an image on, but I do want to actually install something to actually change something about the image. Let’s install Apache as part of the build. Note that in a proper environment, we would probably just install Apache and we would let our config manangement tool handle deploying our webpage, since that’s the kind of thing we would want to checkout from version control at boot time.
Here’s the template:
{
  "builders": [
    {
      "type": "openstack",
      "username": "admin",
      "password": "testpass",
      "provider": "http://192.168.1.200:5000/v2.0",
      "ssh_username": "ubuntu",
      "project": "admin",
      "region": "RegionOne",
      "image_name": "Packer Test Image",
      "source_image": "b3a4368b-7368-45e5-bfe4-63f59d732c41",
      "flavor": "0d7e469c-e99b-4267-b154-35874b224f54",
      "networks": ["0296eb7d-7f94-4cc1-b42f-f2d680b81359"],
      "use_floating_ip": true
    }
  ],
   "provisioners": [{
    "type": "shell",
    "inline": [
      "sleep 30",
      "sudo apt-get update",
      "sudo apt-get install -y apache2"
    ]
  }]
}