As I wrote previously, I wanted to learn to use Github Pages to build a new blog and start keeping track of my personal projects and ideas. However, in getting started, I noticed that there really wasn’t a straightforward way to move from Github’s quick and dirty tutorial to actually creating a useful blog. There’s some tools like Jekyll Bootstrap, but it seems like it’s been a while since it has been updated. So after combing through a lot of other people’s pages and some Jekyll tutorials, I was finally able to get something presentable up and running. I figured I’d share the overall process I used as a first series of posts, in case someone else finds it useful.
This first post will center around getting a development environment setup and creating a “Hello, World!” type page to demonstrate the basics. So without further ado…
This guide assumes a standard Ubuntu installation and a pre-existing Github account.
###Create Our Github Page
- First, we’ll want to create an empty repo out on Github. The naming here is quite important, so for a personal blog, you’ll want to name it like GITHUB_USERNAME.github.io. So login to Github and click “+ New Repository”. My repo info looked like this:

- Now, let’s clone our repo locally. This should be as simple as a
git clone https://github.com/USERNAME/USERNAME.github.io.gitin some place that you’re comfortable with. If you change into that directory, you’ll see it’s currently empty, unless you created a README or LICENSE file as part of your repo creation.
Note: If you don’t have git installed, issue sudo apt-get install git to install.
###Install The Basics
-
Let’s grab some packages we need to serve our site locally. This will be useful when writing posts, so you don’t have to push to Github constantly just to see what it looks like. Issue
sudo apt-get install ruby ruby1.9.1-dev python-pip. -
We’ll need a Javascript parser and the Jekyll gem, so get NodeJS and Jekyll from rubygems:
sudo gem install node jekyll -
This step is optional for some, but I needed syntax highlighting for code blocks. So install the Pygments package for Python:
sudo pip install Pygments
###Create Our Folder Structure
There’s a certain folder structure that Jekyll looks for in your repo. For example, all posts must live in the ‘_posts’ folder and must be titled like YEAR-MONTH-DAY-TITLE.FORMAT. To help understand, the title of this post is 2014-09-06-creating-a-blog-1.md. Anyways, I wanted to get up and running with the absolute basic amount of stuff needed in my repo so here’s what seemed to work.
-
Change into your repo directory in a terminal. Create two directories, _layouts and _posts. They must be named exactly that, including the underscore at the front. Issue
mkdir _layouts _posts -
Let’s also touch a couple of files that we’ll use later on. Issue
touch _config.yml index.html
###Configure The Site
- We could probably do this part much later in the tutorial, but let’s go ahead and put some basic info about our site in the _config.yml file. Feel free to edit these fields to your liking, with the exception of the ‘highlighter’ option. That is for our code highlighting.
name: "Test Blog"

description: "A snazzy new blog, just for me!"

about: "Here's a bit of text that we'll put in an about section later on in our tutorial. I'm intentionally making it a little longer so that the section will look fuller later..."

highlighter: pygments###Test Our Local Server
-
Now, what’s a tutorial without a “Hello, World!” portion? Let’s go ahead and edit index.html to say that. The “Hello, World!” text should be the only thing in the file.
-
In the root of your repo, let’s tell Jekyll to server our pages so we can see if everything works. Issue
jekyll serve --watch. The watch flag will monitor the repo for changed files and regenerate automatically, so you don’t have to start/stop the process. However, I’ve noticed that’s not the case for certain files, namely _config.yml. Your terminal should look something like this when you start the process:
Configuration file: /home/rsmitty/Desktop/rsmitty.github.io/_config.yml
            Source: /home/rsmitty/Desktop/rsmitty.github.io
       Destination: /home/rsmitty/Desktop/rsmitty.github.io/_site
      Generating...
                    done.
 Auto-regeneration: enabled for '/home/rsmitty/Desktop/rsmitty.github.io'
Configuration file: /home/rsmitty/Desktop/rsmitty.github.io/_config.yml
    Server address: http://0.0.0.0:4000/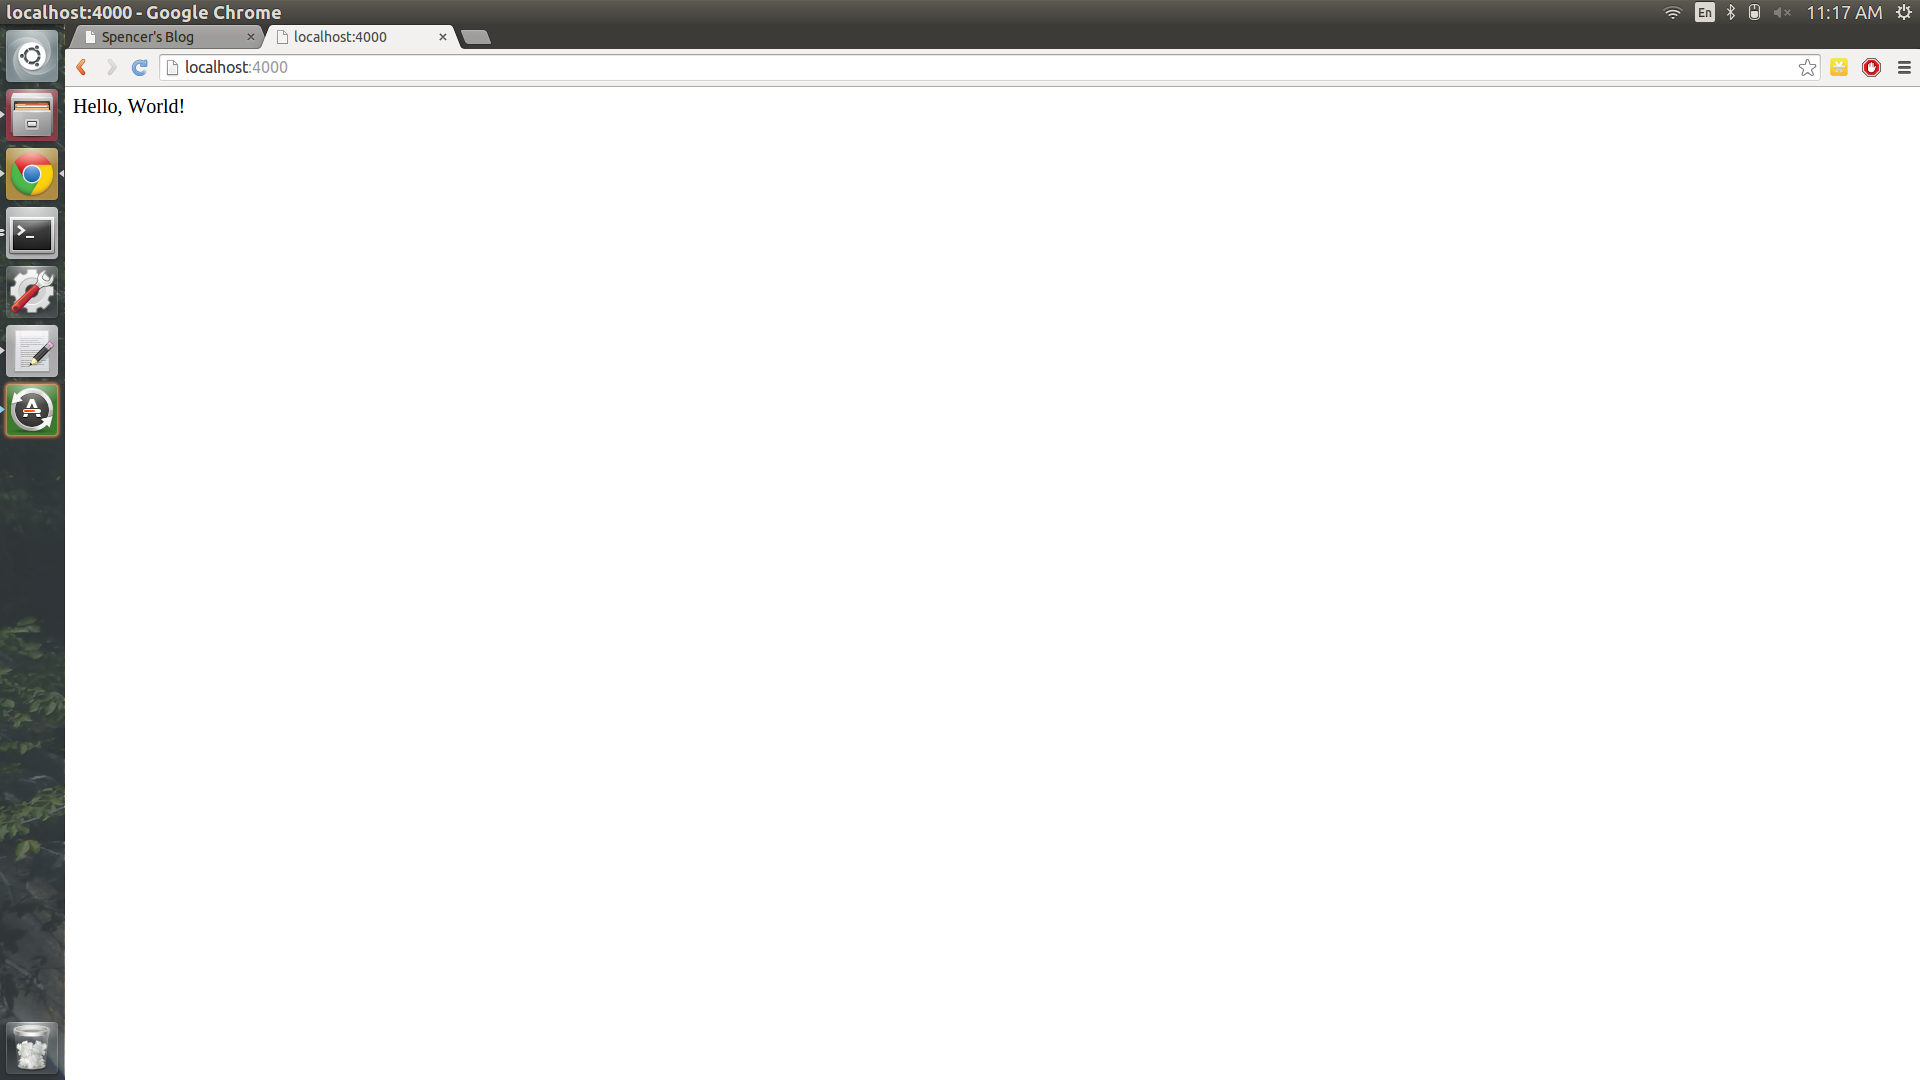
Server running... press ctrl-c to stop.- Open the address http://localhost:4000 in a browser and you should see your “Hello, World!” text. Neat!
###Check It Out On Github
Okay, so we’ve got our first official page. How do we get that out to Github? Turns out, it’s really easy, because we’ve already got everything laid out just right locally.
-
Add all of our files to be commited:
git add --all -
Commit them with a helpful message:
git commit -m "Committing basic folder structure and Hello World page." -
Push it to Github:
git push origin master -
Give it a few seconds, and you should see your new page at your USERNAME.github.io address:

###Closing That’s it for part one of this tutorial. We’ve now got a development environment setup and know how to push our pages to Github. In part two, we’ll explore how to use Bootstrap to setup a blog layout and create some custom layout pages so that our site looks clean and user friendly.