After part one of this tutorial, we have a development environment setup that’s ready for us to really start making some headway in getting a presentable blog up and running. In this tutorial, I’ll show how I plugged Bootstrap’s example blog theme into my site and also guide through creating a first post.
###Create A Default Layout
- First, we’ll want to get our code syntax highligting to work. Create a CSS file in the root of your Github repo called pygments.css by issuing:
pygmentize -S default -f html > pygments.css
Note: This step may not be necessary for everyone, but I’ll be including a call to pygments.css in the next step. So if you’re following along step-by-step, it may be worth going ahead and doing this.
- Let’s create a default template for all of our pages to use. This is where the special folders that we created in the last tutorial come into play. Change into the _layouts directory and open a file called default.html for editing. I’ve created a basic template that imports the necessary CSS and Javascript files for the Bootstrap example blog. I’m relying on the public URLs for those imports; however, if you want to ensure that they are always functional, you’ll want to download these files manually and import them from a path inside your repo. Add the following to the default.html file:
<!DOCTYPE html>
<html>
  <head>
    <meta charset="utf-8" />
    <meta content='text/html; charset=utf-8' http-equiv='Content-Type'>
    <meta http-equiv='X-UA-Compatible' content='IE=edge'>
    <meta name='viewport' content='width=device-width, initial-scale=1.0, maximum-scale=1.0'>

    <title>{{ site.name }}</title>

    <meta name="author" content="{{ site.name }}" />
    <meta name="description" content="{{ site.description }}">

    <!-- Bootstrap CSS Files -->
    <link rel="stylesheet" href="https://maxcdn.bootstrapcdn.com/bootstrap/3.2.0/css/bootstrap.min.css">
    <link rel="stylesheet" href="http://getbootstrap.com/examples/blog/blog.css">

    <!-- Pygments CSS File for Syntax Highlighting -->
    <link rel="stylesheet" href="/pygments.css">

  </head>

  <body>

  <div class="blog-masthead navbar-fixed-top">
      <div class="container">
        <nav class="blog-nav">
          <a class="blog-nav-item" href="#">Home</a>
          <a class="blog-nav-item" href="#">About</a>
        </nav>
      </div>
    </div>

    <div class="container">
      <div class="blog-header">
        <h1 class="blog-title">{{site.name}}</h1>
        <p class="lead blog-description">{{site.description}}</p>
      </div>

    <div class="row">
      <div class="col-sm-8 blog-main">
          {{ content }}
      </div>

    <div class="col-sm-3 col-sm-offset-1 blog-sidebar">
      <div class="sidebar-module sidebar-module-inset">
        <h4>About</h4>
        <p>{{site.about}}</p>
      </div>
      <div class="sidebar-module sidebar-module-inset">
        <h4>Contact Info</h4>
        <ol class="list-unstyled">
          <li><a href="#" target="_blank">Github</a></li>
          <li><a href="#" target="_blank">LinkedIn</a></li>
        </ol>
      </div>
    </div>
  </div>
  </div>

  <!-- Bootstrap JS Files -->
  <script src="https://ajax.googleapis.com/ajax/libs/jquery/1.11.1/jquery.min.js"></script>
  <script src="https://maxcdn.bootstrapcdn.com/bootstrap/3.2.0/js/bootstrap.min.js"></script>

  </body>
</html>###Edit The Index Page
- Let’s tell our index.html page to use our snazzy new layout. Edit your index.html page to look like the following:
---
layout: default
---

Hello, World!
Note: The YAML at the top of this page allows us to specify certain behavior from page to page. For example, we’re telling this page to load our default template. However, if we created another template called foo later on in the future, we could simply change the layout variable to point to the new foo layout.
-
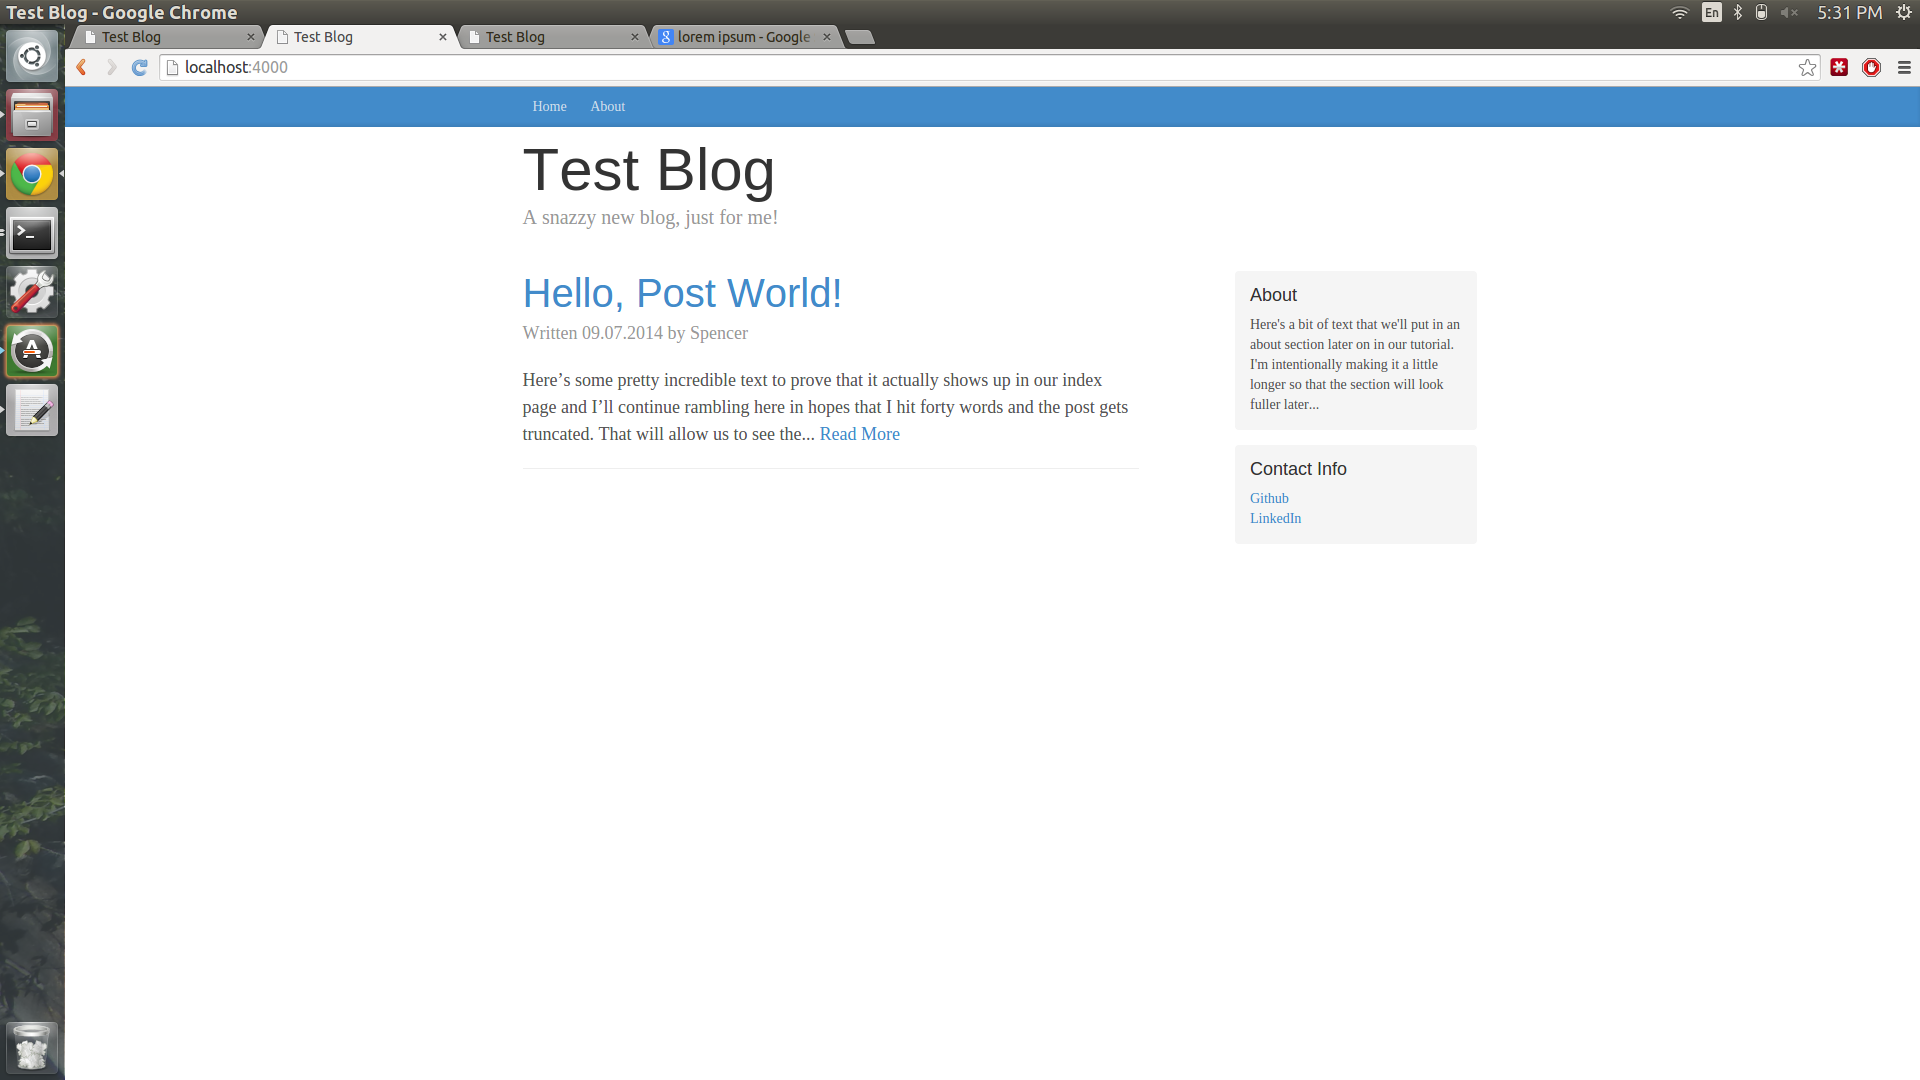
Refresh the localhost:4000 page in your browser and you should see the new layout load, along with all of the site info that we entered in _config.yml in the last tutorial.

-
Looks good! Now, we’d rather the index page say something other than “Hello, World”. In fact, we want the first thing that people see to be a list of all of the highly interesting and potentially life changing posts that we’ll be making as our blogging continues. Let’s now edit our index.html to look like the following:
---
layout: default
---

{% for post in site.posts %}
    <div class="blog-post">
      <h2 class="blog-post-title"><a href="">{{ post.title }}</a></h2>
      <p class="blog-post-meta">Written {{ post.date | date: "%m.%d.%Y" }} by {{post.author}}</p>
        {{ post.content | truncatewords:40}}
      <a href="" class="read-more">Read More</a>
      <hr>
    </div>
{% endfor %}
This tells Jekyll to run a for-loop before displaying the index.html page. As this loop runs, a div is created for each blog post, along with some info about the post (author, date, etc.). It also truncates the post to 40 words and provides a link to read the full text. A refresh will be pretty blank right now, as there’s not any posts and it looks a bit silly. Let’s create a dummy post to fill things out a bit.
###Create A Post
-
Creating a post is a bit of pretty cool black magic on Jekyll’s side. It expects a specific type of filename and reside in the _posts directory. So let’s create a file named like YEAR-MONTH-DAY-TITLE.md. At the time of this writing, I’m issuing
touch 2014-09-07-hello-post-world.md. -
Inside that file, we’ll add some YAML configuration to the top to tell it some info about layout, title, and author. Edit the file to look like this and feel free to the author and text to whatever you wish:
---
layout: posts
author: Spencer
title: Hello, Post World!
---

Here's some pretty incredible text to prove that it actually shows up in our index page and I'll continue rambling here in hopes that I hit forty words and the post gets truncated. That will allow us to see the "Read More" link appear on our post.- Refresh the localhost:4000 page and you’ll see your first post appear!
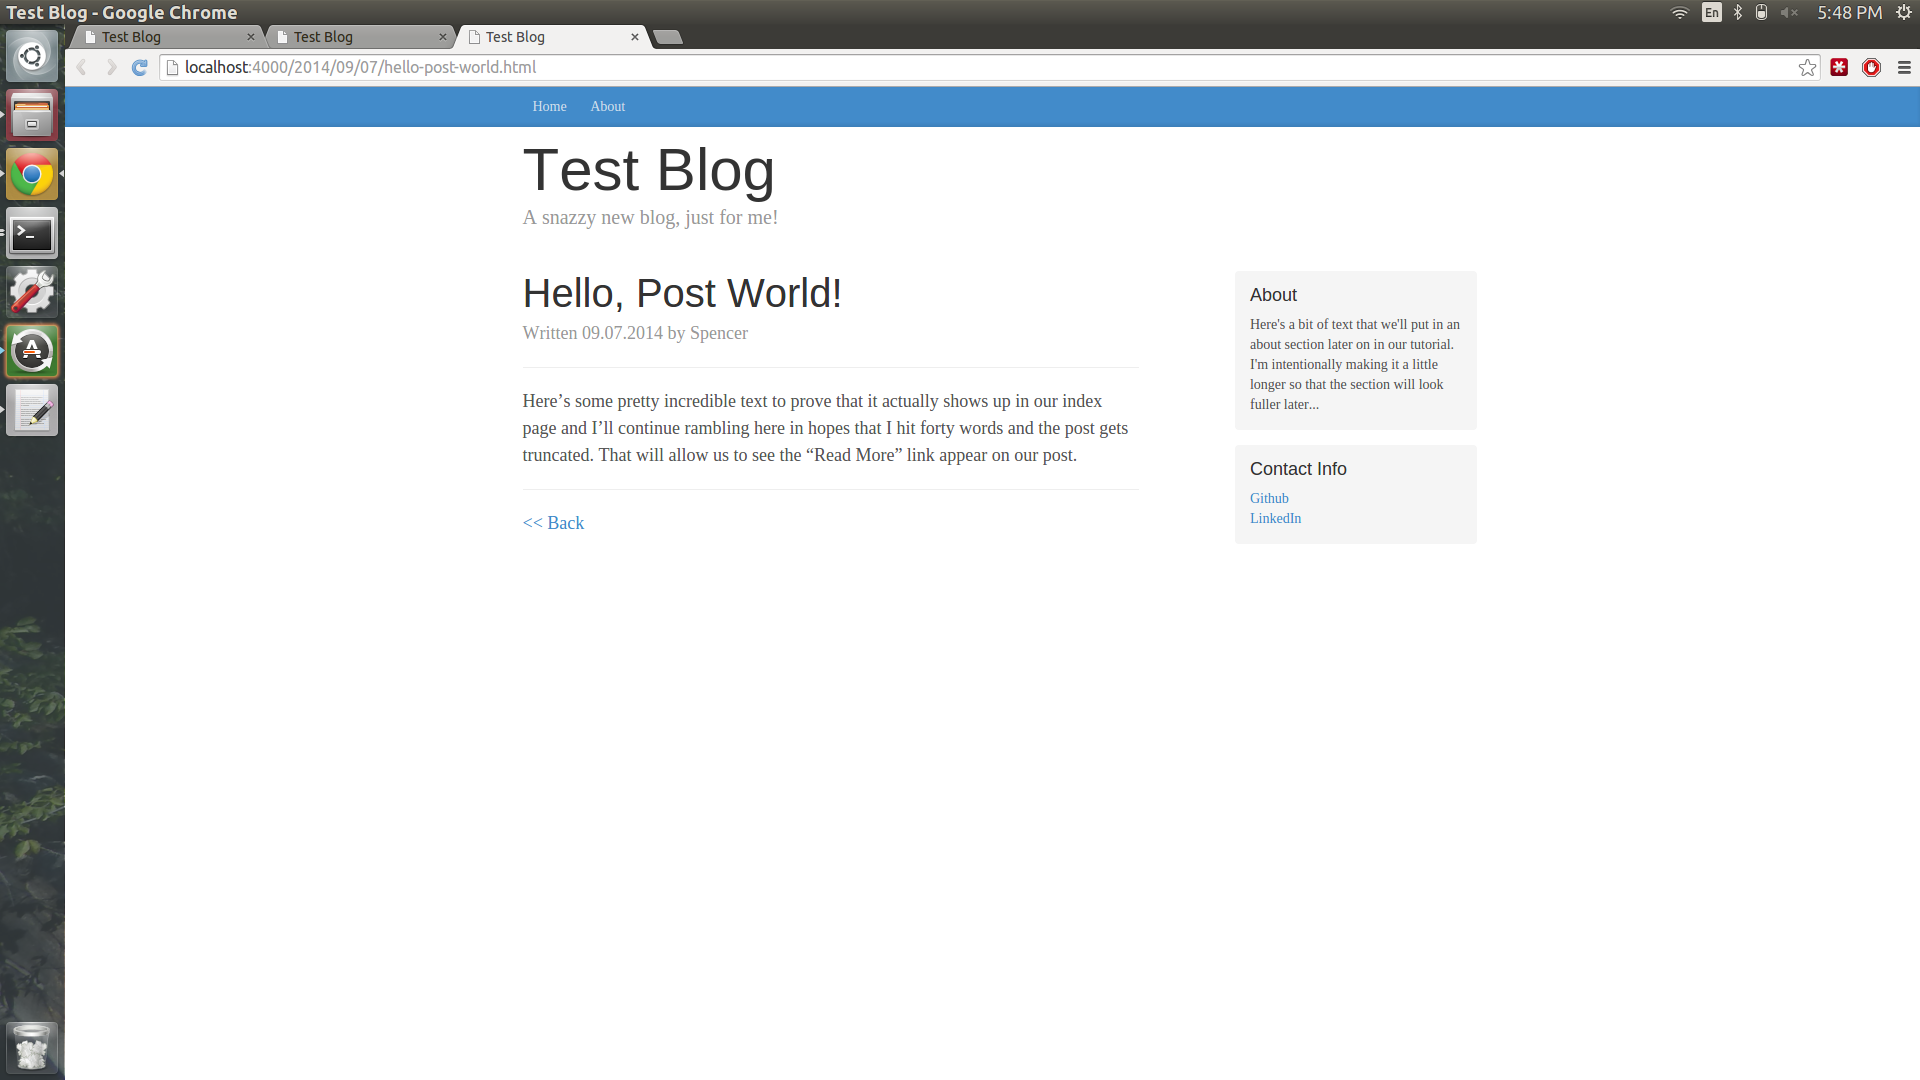
Nice! Until you click the “Read More” or the title of the post. There’s no posts.html in _layouts, which is what we specified at the top of our file just a second ago. We can’t really use the default layout we created, because it’s missing a couple of things like post title and a back button that we’d want on single posts, but not on the main page.
###Create A Layout For Posts
- Create a file called posts.html and place it in the _layouts directory. Populate the file with the following:
<!DOCTYPE html>
<html>
  <head>
    <meta charset="utf-8" />
    <meta content='text/html; charset=utf-8' http-equiv='Content-Type'>
    <meta http-equiv='X-UA-Compatible' content='IE=edge'>
    <meta name='viewport' content='width=device-width, initial-scale=1.0, maximum-scale=1.0'>

    <title>{{ site.name }}</title>

    <meta name="author" content="{{ site.name }}" />
    <meta name="description" content="{{ site.description }}">

    <!-- Latest compiled and minified CSS -->
    <link rel="stylesheet" href="https://maxcdn.bootstrapcdn.com/bootstrap/3.2.0/css/bootstrap.min.css">

    <!-- Optional theme -->
    <link rel="stylesheet" href="http://getbootstrap.com/examples/blog/blog.css">
    <link rel="stylesheet" href="/pygments.css">
  </head>

  <body>

  <div class="blog-masthead navbar-fixed-top">
    <div class="container">
      <nav class="blog-nav">
        <a class="blog-nav-item" href="/">Home</a>
        <a class="blog-nav-item" href="#">About</a>
      </nav>
    </div>
  </div>

  <div class="container">
    <div class="blog-header">
      <h1 class="blog-title">{{site.name}}</h1>
      <p class="lead blog-description">{{site.description}}</p>
    </div>

    <div class="row">
      <div class="col-sm-8 blog-main">
          <div class="blog-post">
            <h2 class="blog-post-title">{{ page.title }}</h2>
            <p class="blog-post-meta">Written {{ page.date | date: "%m.%d.%Y" }} by {{page.author}}</p>
            <hr>
              {{content}}
            <hr>
            <a href="/"><< Back</a>
          </div>
      </div>

      <div class="col-sm-3 col-sm-offset-1 blog-sidebar">
        <div class="sidebar-module sidebar-module-inset">
          <h4>About</h4>
          <p>{{site.about}}</p>
        </div>
        <div class="sidebar-module sidebar-module-inset">
          <h4>Contact Info</h4>
          <ol class="list-unstyled">
            <li><a href="#" target="_blank">Github</a></li>
            <li><a href="#" target="_blank">LinkedIn</a></li>
          </ol>
        </div>
      </div>

    </div>
  </div>

  <script src="https://ajax.googleapis.com/ajax/libs/jquery/1.11.1/jquery.min.js"></script>
  <script src="https://maxcdn.bootstrapcdn.com/bootstrap/3.2.0/js/bootstrap.min.js"></script>


  </body>
</html>- Now, let’s click on a link to our post and see it in all of it’s glory!
###Closing Well, that’s pretty much it for how I created my new blog. Now is probably a good time to push all of this to Github and ensure it works properly if you’re following along with these instructions. I hope this has been a helpful write-up and I’m sure I’ll document other cool stuff that I run into as I learn to use Jekyll more effectively. It’s now up to you to create lots and lots of posts on your own blog!