Continuing on my thread of exploring new technologies for my new job, today I’ll
be looking at CFEngine and how we can use it for configuration management. I’ve
used other tools like Chef and Ansible in the past, but CFEngine is a new one
for me. I’ll be installing and configuring a server and some nodes in my home
Openstack lab.
##Setup the Server##
I’m going to use the instructions for CFEngine enterprise for this tutorial. It
appears to be free for the first 25 nodes, so it will be nice to test against the
version that I may actually have to use at work.
Create a server in Openstack and go ahead and SSH in. I had to use a Ubuntu 12.04
LTS image for this. 14.04 LTS returned an error about not being supported. I imagine
that will be fixed in the future.
Open the /etc/hosts file for editing and add an entry for the private IP address to
give it a hostname. The script below with fail if hostname -f doesn’t return
anything. I added this to my hosts file:
10.0.0.29 cfengine-server.localdomain. You may also have to enter
sudo hostname cfengine-server.localdomain.
Grab the CFEngine install script with
wget http://s3.amazonaws.com/cfengine.packages/quick-install-cfengine-enterprise.sh.
Make it executable with chmod +x quick-install-cfengine-enterprise.sh.
Run the script with sudo rights and pass the hub argument to specify that this
will be a central hub server:
sudo ./quick-install-cfengine-enterprise.sh hub
Bootstrap the CFEngine hub with sudo /var/cfengine/bin/cf-agent --bootstrap 10.0.0.29
We should now be able to login to the server’s web UI by going to the floating
IP address in a browser. The default login information is admin/admin. Make sure
your default security group lets port 80 in.
##Setup the Clients##
Now let’s get some clients set up so that we have some systems to actually manage
with our snazzy new server. This process is almost exactly the same as the above,
with the exception of the argument passed to quick-install-cfengine-enterprise.sh.
I won’t copy/paste everything from above, but just follow the same steps and when
you get there, issue this command instead:
sudo ./quick-install-cfengine-enterprise.sh agent
One last possible caveat here. I created a Ubuntu 12.04 image with the CFEngine
client installed and it caused a kernel panic on boot. I’m not sure what was going on,
but using a 14.04 image worked just fine.
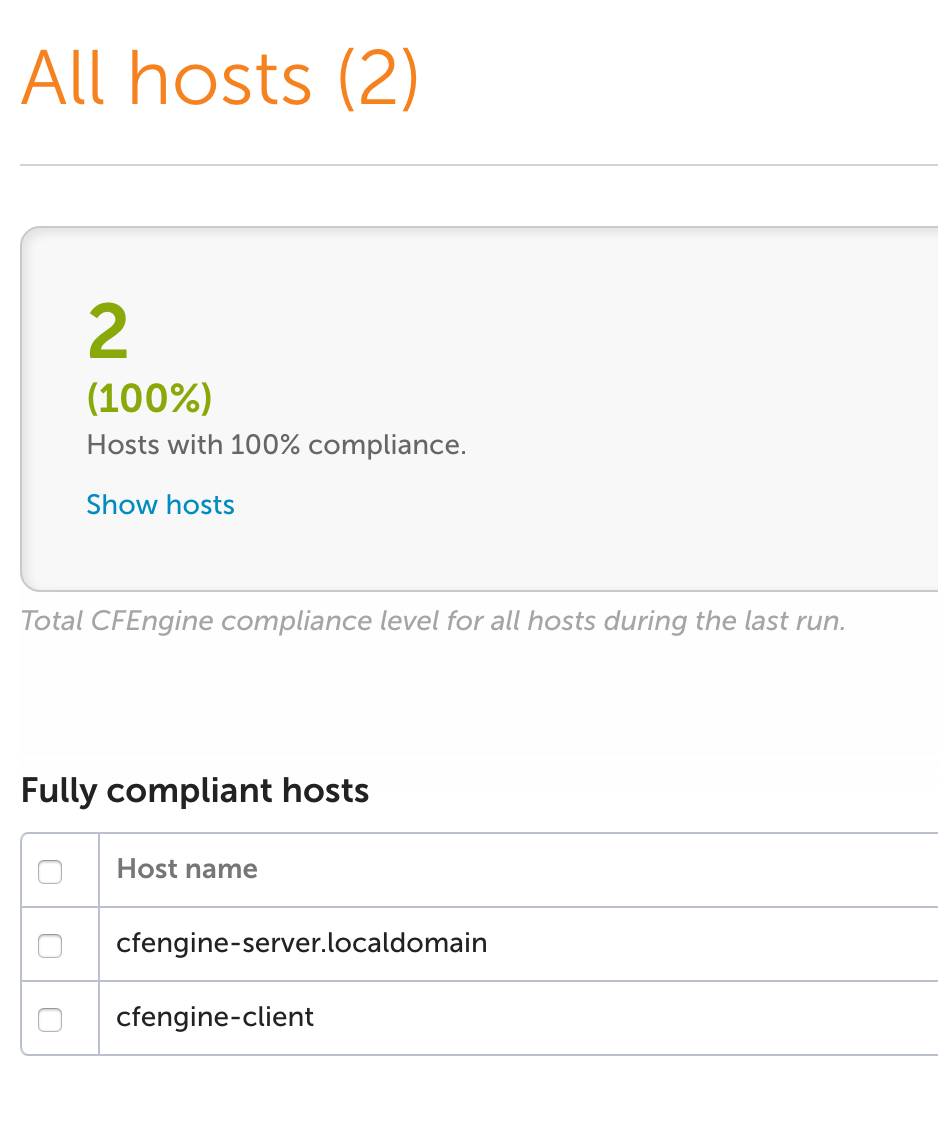
Once you get the client setup completed, you should see your new nodes checked in
in the web UI.
As I was trying to write an ISO to a USB drive, I wanted to see the progress when
using the ‘dd’ command line tool. I found a quick pointer on StackOverflow to use
the ‘pv’ command, so I adapted a little to use on a Mac. This will also serve
as a guide on how to write ISOs on Mac. Here’s how:
Install pv with homebrew: brew install pv
Find your USB drive with diskutil list. Should be pretty easy to spot the
USB drive as it will be smaller than the other disks. Tread lightly though, don’t
mess with your hard drive. I’ll use /dev/disk3, as that’s what my command returned.
Unmount it with diskutil unmountDisk /dev/disk3.
Become root with sudo su
Write your iso with this general layout, substituting paths where necessary:
dd if=/path/to/your.iso | pv | dd of=/dev/disk3 bs=1024k.
As part of a new job I’m taking, I wanted to learn more about image building
for Openstack and other virtual environments. I’ve done it by hand for the customized
OSes at my old job, but I haven’t had the chance to explore any automated solutions.
I was pointed to Packer as a tool to build several different images at the same time (and automatically). It sounds like a great project and I’m going to use this post to
get up to speed with using the basics. One quick caveat from the outset is that
I’m not going to use Amazon at first. I’ll be running against my home Openstack lab
since it’s free and a good excuse to get my homelab back in order.
##Install Packer##
I’ve got a shiny new Macbook, and installing Packer was actually really easy.
The way I did it depended on homebrew, but you can also install manually from
from their docs here.
In terminal, ensure that you have homebrew setup by issuing brew.
Add the necessary tap with brew tap homebrew/binary.
Finally, install packer with brew install packer.
You can test it’s installed by simply issuing packer in the terminal.
##Get Openstack Ready##
I run an all-in-one deployment of RDO Openstack at home. Obviously, there’s a
million different ways to deploy, but here
and here
are the pieces that I followed. It’s important to note that in my lab, instances
come alive on a private network, then get access to my router’s 192.168.1.0/24 block
via floating IPs. This will come in to play a bit later with the Packer template.
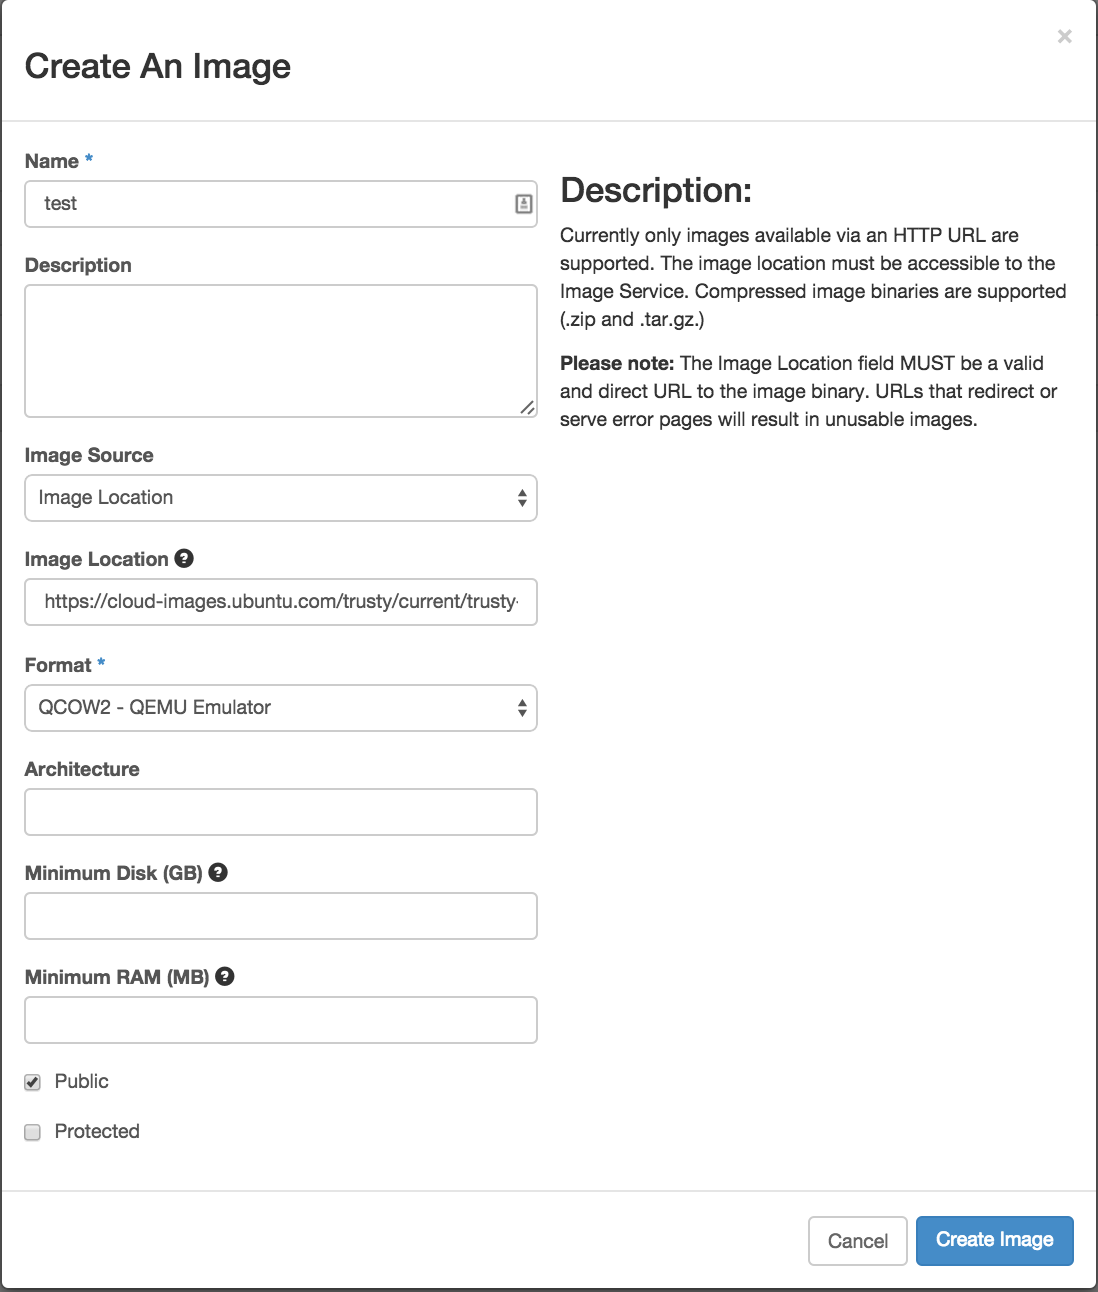
Get a known good image into Glance by importing one of the big distros. I used
the Ubuntu 14.04 LTS image found here. You can just put that link into Glance’s import dialog. My final dialog looked like this:
Take note of the new image’s UUID, we’ll need that later:
[rsmitty@localhost ~(keystone_admin)]$ nova image-list
+--------------------------------------+-------------------+--------+----------+
| ID                                   | Name              | Status | Server
+--------------------------------------+-------------------+--------+----------+
| bf2ad7f1-3823-4ad2-a788-44a25827c93e | cirros            | ACTIVE |
| b3a4368b-7368-45e5-bfe4-63f59d732c41 | ubuntu 14.04      | ACTIVE |
+--------------------------------------+-------------------+--------+----------+
##Write Packer Template##
Okay, time to get busy. Let’s write a template for Packer to create an image list.
We’ll need to gather some info first.
Get your keystone info by catting out your keystonerc file. For me, this was
cat keystonerc_admin. Some info below has been changed to protect the innocent.
Create a new json file somewhere on your machine. I simply called mine packer_template.
There’s a lot of options for Openstack in Packer (found here). Some of this will
vary by the way your particular Openstack deployment is set up, but for me, this
template contains all of the necessary basic fields:
{"builders":[{"type":"openstack","username":"admin","password":"testpass","provider":"http://192.168.1.200:5000/v2.0","ssh_username":"ubuntu","project":"admin","region":"RegionOne","image_name":"Packer Test Image","source_image":"b3a4368b-7368-45e5-bfe4-63f59d732c41","flavor":"0d7e469c-e99b-4267-b154-35874b224f54","networks":["0296eb7d-7f94-4cc1-b42f-f2d680b81359"],"use_floating_ip":true}]}
Notes about what’s what:
username & password: Map to OS_USERNAME and OS_PASSWORD from source file
provider: Maps to OS_AUTH_URL
region: Maps to OS_REGION_NAME
source image: UUID of the Ubuntu image we talked about earlier
flavor: UUID of my m1.tiny flavor. Beware, this changes on any flavor update!
networks: UUID of my private network. Can be an array of several networks.
use_floating_ip: As mentioned earlier, floating IP allows Packer to actually
SSH to this server across my home network.
##Test Time!##
Let’s see if this thing will actually create an image for us.
Save your template if you haven’t already.
Validate the template to make sure there aren’t any glaring errors with
packer validate NAME_OF_TEMPLATE.json. This should return the text
‘Template validated successfully.’
Run the template with packer build NAME_OF_TEMPLATE.json. For me, this
gave the following output when everything completely worked:
Spencers-MBP:Desktop spencer$ packer build packer_template
openstack output will be in this color.

==> openstack: Creating temporary keypair for this instance...
==> openstack: Waiting for server (82db25b2-e1a5-4aef-be4a-cfccf744e103) to become ready...
==> openstack: Created temporary floating IP 192.168.1.204...
==> openstack: Added floating IP 192.168.1.204 to instance...
==> openstack: Waiting for SSH to become available...
==> openstack: Connected to SSH!
==> openstack: Creating the image: Packer Test Image
==> openstack: Image: 70a610e9-302a-40f4-a4ca-59b6ad260e63
==> openstack: Waiting for image to become ready...
==> openstack: Terminating the source server...
==> openstack: Deleting temporary keypair...
Build 'openstack' finished.
Nice! Seemed to work. Now if we head out to the Glance UI, we can see that our
shiny new image hanging out!
##Well, Now What?##
So we’ve built an image with Packer, which is great. But the real value here comes
with building on multiple platforms at the same time and also doing some provisioning
to install the necessities before creating the image.
This tutorial is getting pretty long in the tooth, so I’m not going to add another provider to create an image on, but I do want to actually install something to actually change something about the image. Let’s install Apache as part of the
build. Note that in a proper environment, we would probably just install Apache
and we would let our config manangement tool handle deploying our webpage, since
that’s the kind of thing we would want to checkout from version control at boot
time.
So, I ran into a need to scan some files for viruses on Ubuntu this past week. However, a couple of things prevented this from being straight forward:
I couldn’t be sure where these files were being stored.
I didn’t want to scan the entire filesystem just to get at these few files.
So I went out looking for a way to scan only new files with clamscan. After a good bit of digging, I ran across this old thread where someone had a similar question. So after getting a pointer there, I was able to make this happen. Here is the way to do it:
##Install ClamAV##
Issue sudo apt-get install clamav to get the freshclam and clamscan commands.
Update the virus definitions with a sudo freshclam. This will take a few seconds the first time.
##Get Ya Find Right##
Now this took a bit of playing around with to get where I wanted. I wanted to find all files of a certain type that had been created or modified in the past week. There’s also some differences to note about mtime vs. ctime vs. atime as a flag for find. Linux-FAQs.info did a good job of explaining these differences:
ctime - ctime is the inode or file change time. The ctime gets updated when the file attributes are changed, like changing the owner, changing the permission or moving the file to an other filesystem but will also be updated when you modify a file.

mtime - mtime is the file modify time. The mtime gets updated when you modify a file. Whenever you update content of a file or save a file the mtime gets updated.

*Most of the times ctime and mtime will be the same, unless only the file attributes are updated. In that case only the ctime gets updated.*

atime - atime is the file access time. The atime gets updated when you open a file but also when a file is used for other operations like grep, sort, cat, head, tail and so on.
For my purposes, I wanted EVERYTHING that had changed, so that pointed to using the ctime flag. For a first test, I just wanted to see how many items find would return. I was able to do that by issuing (edited to look for .md files, just for laughs): sudo find / -name "*.md" -ctime -7 -type f | wc -l. That command simply returns the number 5 on my machine at the time of writing. Let’s not pipe it out to wc so we can see those files:
Note: You’ll have to do almost everything with ClamAV as root user. Also, you can change the number of days to scan for by changing the ‘-7’ portion of the command.
Okay, slightly more interesting, and now we know what we’re working with. Let’s move on…
##Enter Xargs##
Using xargs was a first for me as part of this little endeavor. It’s a really handy tool to add to the toolbox! If you’ve ever tried to run a bash command like rm * and received an error like “Argument list too long”, xargs is the answer to your problems. It takes the argument list and breaks it down into smaller pieces. It’ll then run subsequent commands with each sublist. For the purposes of what I was doing initally, there were about 7,000 files to scan, xargs was able to break those up into two scans of ~3,000 files and one scan of ~1,000. Worked great!
The –remove flag just means that if a vulnerability is found in that file, delete the file immediately.
the –log flag sets the path of the log file that clamscan will write. You will need to do this for sure if you have lots of files to scan, because several scan summaries will be written to this file.
After running, the log file will look something like this:
rsmitty@rsmitty-notebook:~$ sudo cat /home/rsmitty/clamscan.log

----------- SCAN SUMMARY -----------
Known viruses: 3560111
Engine version: 0.98.1
Scanned directories: 0
Scanned files: 5
Infected files: 0
Data scanned: 0.02 MB
Data read: 0.01 MB (ratio 2.50:1)
Time: 6.441 sec (0 m 6 s)
After part one of this tutorial, we have a development environment setup that’s ready for us to really start making some headway in getting a presentable blog up and running. In this tutorial, I’ll show how I plugged Bootstrap’s example blog theme into my site and also guide through creating a first post.
###Create A Default Layout
First, we’ll want to get our code syntax highligting to work. Create a CSS file in the root of your Github repo called pygments.css by issuing: pygmentize -S default -f html > pygments.css
Note: This step may not be necessary for everyone, but I’ll be including a call to pygments.css in the next step. So if you’re following along step-by-step, it may be worth going ahead and doing this.
Let’s create a default template for all of our pages to use. This is where the special folders that we created in the last tutorial come into play. Change into the _layouts directory and open a file called default.html for editing. I’ve created a basic template that imports the necessary CSS and Javascript files for the Bootstrap example blog. I’m relying on the public URLs for those imports; however, if you want to ensure that they are always functional, you’ll want to download these files manually and import them from a path inside your repo. Add the following to the default.html file:
Let’s tell our index.html page to use our snazzy new layout. Edit your index.html page to look like the following:
---
layout: default
---

Hello, World!
Note: The YAML at the top of this page allows us to specify certain behavior from page to page. For example, we’re telling this page to load our default template. However, if we created another template called foo later on in the future, we could simply change the layout variable to point to the new foo layout.
Refresh the localhost:4000 page in your browser and you should see the new layout load, along with all of the site info that we entered in _config.yml in the last tutorial.
Looks good! Now, we’d rather the index page say something other than “Hello, World”. In fact, we want the first thing that people see to be a list of all of the highly interesting and potentially life changing posts that we’ll be making as our blogging continues. Let’s now edit our index.html to look like the following:
---
layout: default
---
{% for post in site.posts %}
<divclass="blog-post"><h2class="blog-post-title"><ahref="">{{ post.title }}</a></h2><pclass="blog-post-meta">Written {{ post.date | date: "%m.%d.%Y" }} by {{post.author}}</p>
{{ post.content | truncatewords:40}}
<ahref=""class="read-more">Read More</a><hr></div>
{% endfor %}
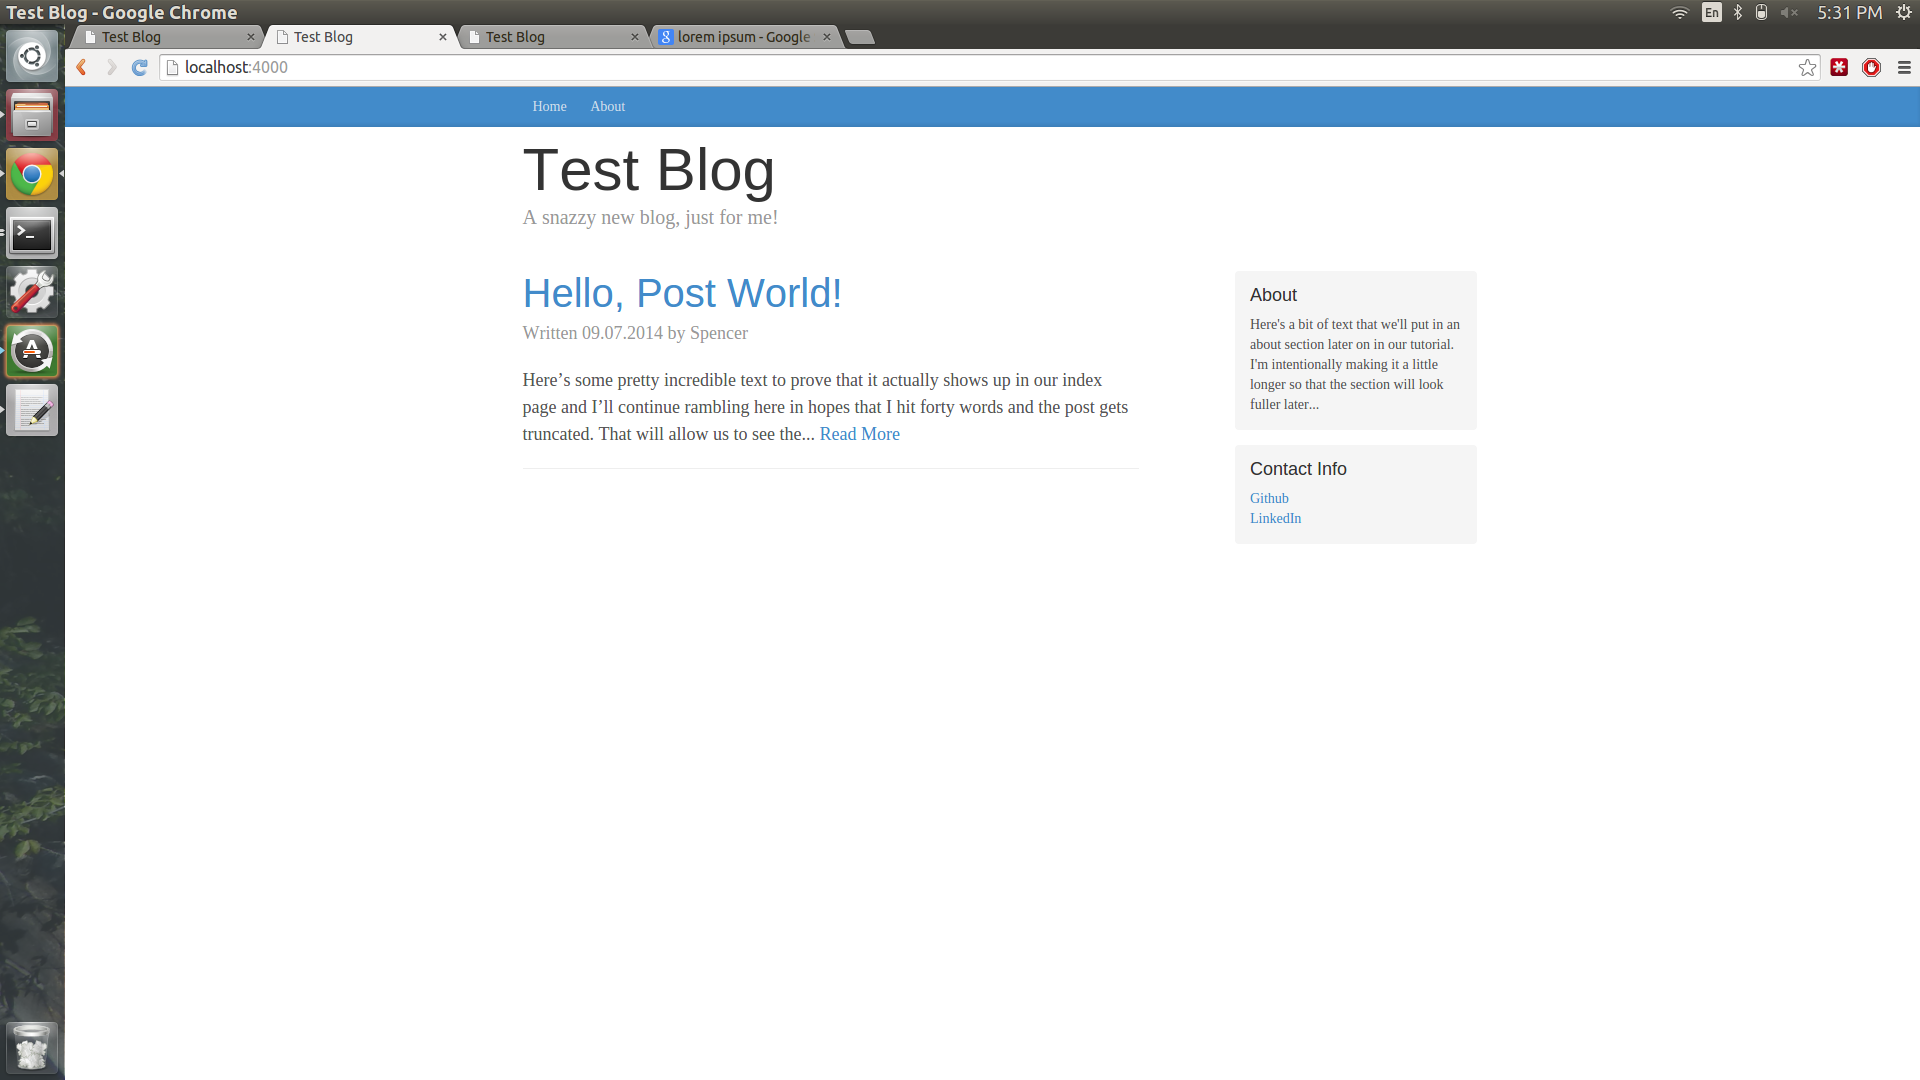
This tells Jekyll to run a for-loop before displaying the index.html page. As this loop runs, a div is created for each blog post, along with some info about the post (author, date, etc.). It also truncates the post to 40 words and provides a link to read the full text. A refresh will be pretty blank right now, as there’s not any posts and it looks a bit silly. Let’s create a dummy post to fill things out a bit.
###Create A Post
Creating a post is a bit of pretty cool black magic on Jekyll’s side. It expects a specific type of filename and reside in the _posts directory. So let’s create a file named like YEAR-MONTH-DAY-TITLE.md. At the time of this writing, I’m issuing touch 2014-09-07-hello-post-world.md.
Inside that file, we’ll add some YAML configuration to the top to tell it some info about layout, title, and author. Edit the file to look like this and feel free to the author and text to whatever you wish:
---
layout: posts
author: Spencer
title: Hello, Post World!
---

Here's some pretty incredible text to prove that it actually shows up in our index page and I'll continue rambling here in hopes that I hit forty words and the post gets truncated. That will allow us to see the "Read More" link appear on our post.
Refresh the localhost:4000 page and you’ll see your first post appear!
Nice! Until you click the “Read More” or the title of the post. There’s no posts.html in _layouts, which is what we specified at the top of our file just a second ago. We can’t really use the default layout we created, because it’s missing a couple of things like post title and a back button that we’d want on single posts, but not on the main page.
###Create A Layout For Posts
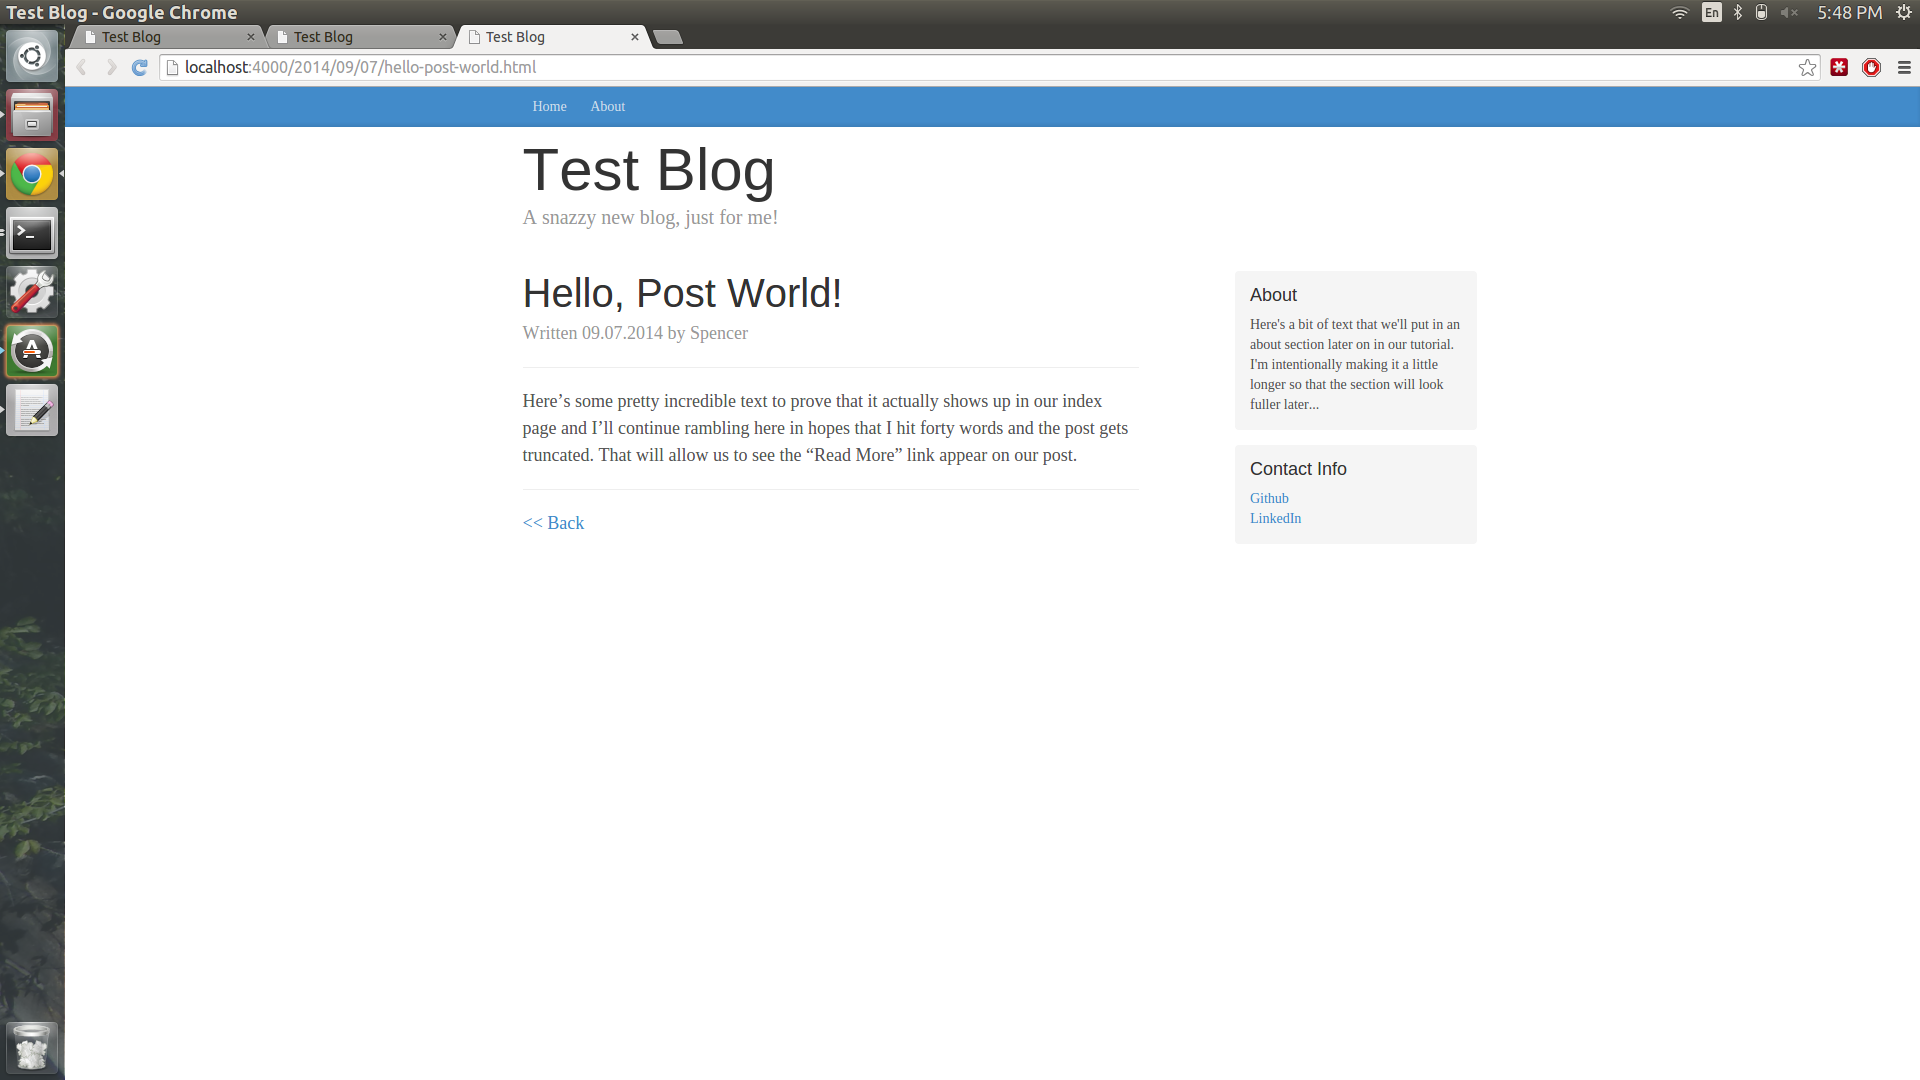
Create a file called posts.html and place it in the _layouts directory. Populate the file with the following:
Now, let’s click on a link to our post and see it in all of it’s glory!
###Closing
Well, that’s pretty much it for how I created my new blog. Now is probably a good time to push all of this to Github and ensure it works properly if you’re following along with these instructions. I hope this has been a helpful write-up and I’m sure I’ll document other cool stuff that I run into as I learn to use Jekyll more effectively. It’s now up to you to create lots and lots of posts on your own blog!